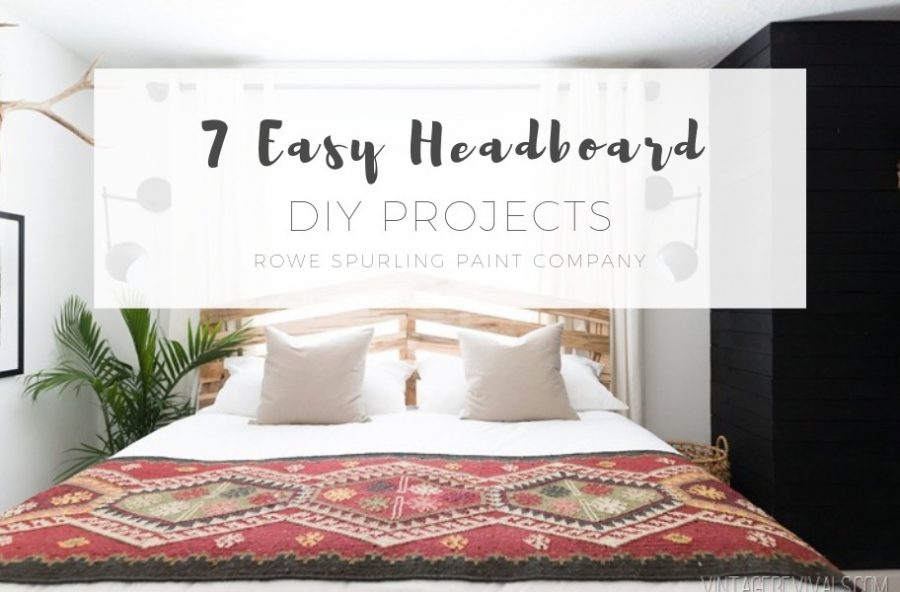
It’s no secret that furniture here is expensive – especially large furniture like a bed. Since it’s the focal point of the bedroom, you want it to make a statement but that shouldn’t mean breaking the bank and spending a fortune. Below are a few of my favourite headboard DIY’s that will make your bed stand out on a budget.
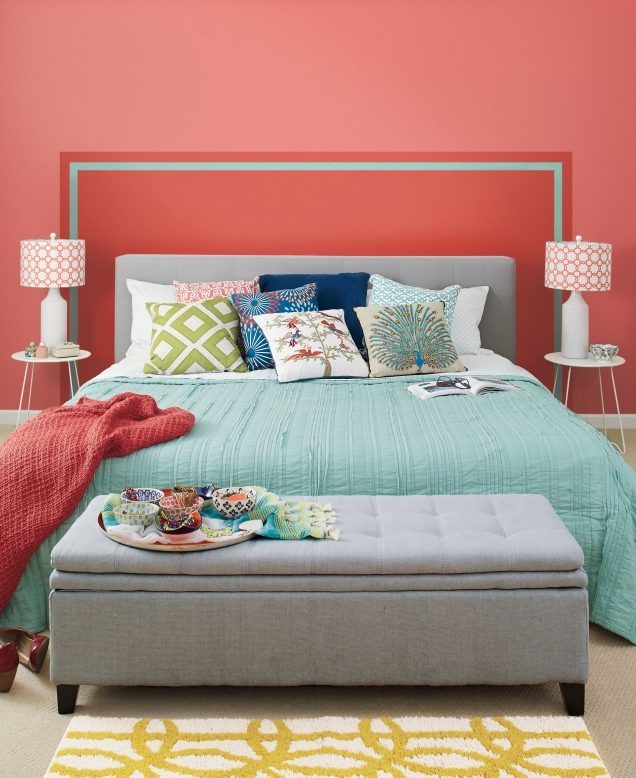
First, let’s start with the easiest. Sometimes a headboard can be just as simple as taping off and painting a geometric design on the wall behind the bed. Remember to invest in a good quality painter’s tape to prevent bleed under (run the edge of a credit card or plastic spreader along the tape line to seal it to the wall better), a level to make sure your design is straight and measuring tape. Experiment with colour and sheen!
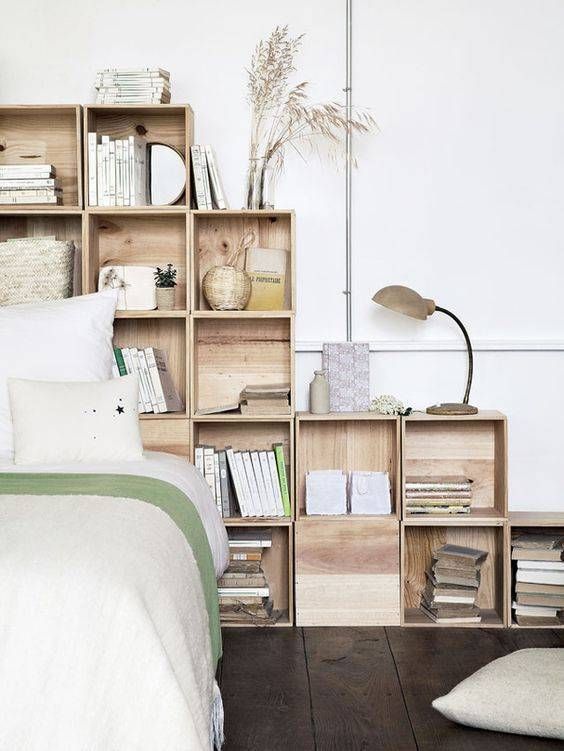
This next headboard DIY is great if you need a little extra storage or want space to show off your stuff. Stack crates to create a modern large scale headboard with lots of nooks and crannies for pictures or mementoes. You can leave the wood plain or paint the inside or outside (or both) to match your decor.
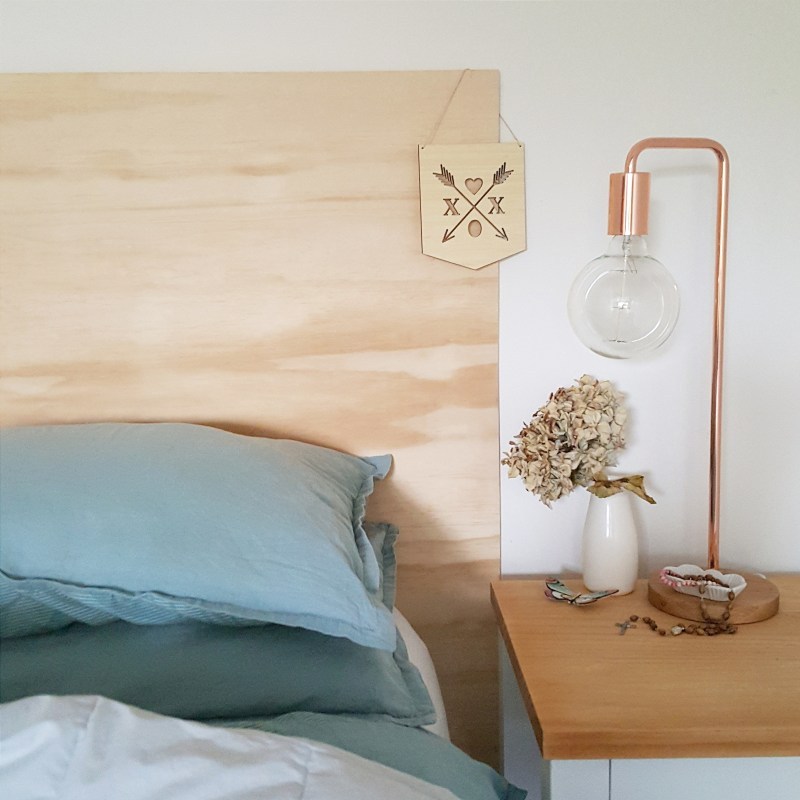
Every hurricane season there’s a run on plywood but these inexpensive sheets of wood can be so much more than just protection for windows and doors. Install one behind the bed to create a large scale headboard that can be customized with paint. TIP: If you choose to leave the plywood natural use a waterbased sealer to protect the wood and make it easier to clean.
The next project requires a little more work but is still pretty basic as far as carpentry goes. With an open slat design this headboard feels light and cheerful so it’s great for smaller spaces. You can find the tutorial here.
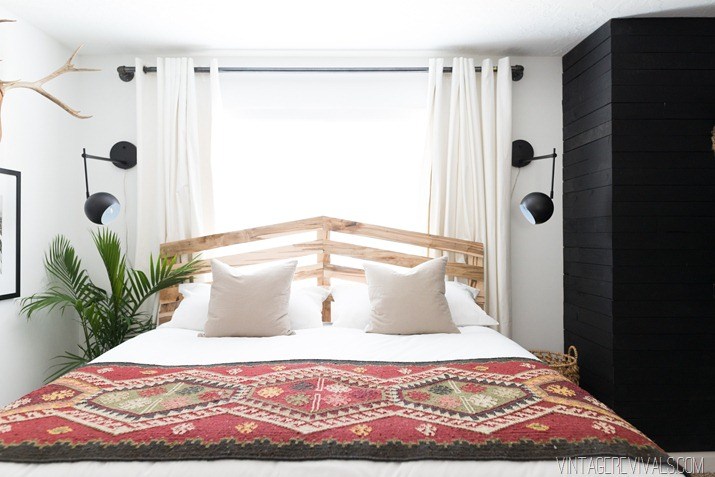
Finally, this headboard may be the most complicated of the wood designs so far but it’s the most impressive for sure. You can do this fancy pattern with wooden shims (from the hardware store), paint sticks or if you’re really fancy, pieces of custom cut wood. Stain the wood with a gel stain then finish with a frame. For the tutorial click here.
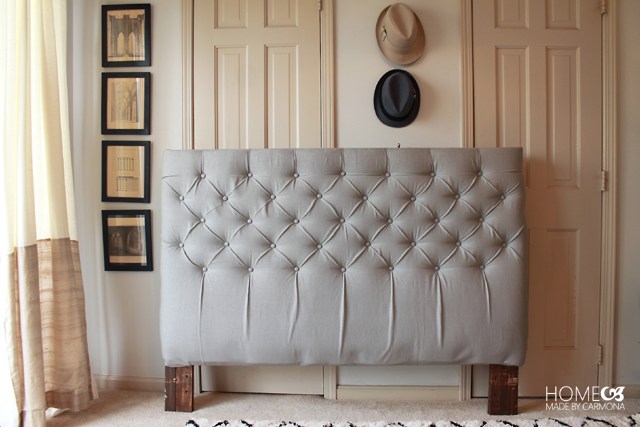
 If a wooden headboard isn’t your thing then glam up the bedroom with this tufted beauty. It’s surprisingly easy to make with these step-by-step instructions.
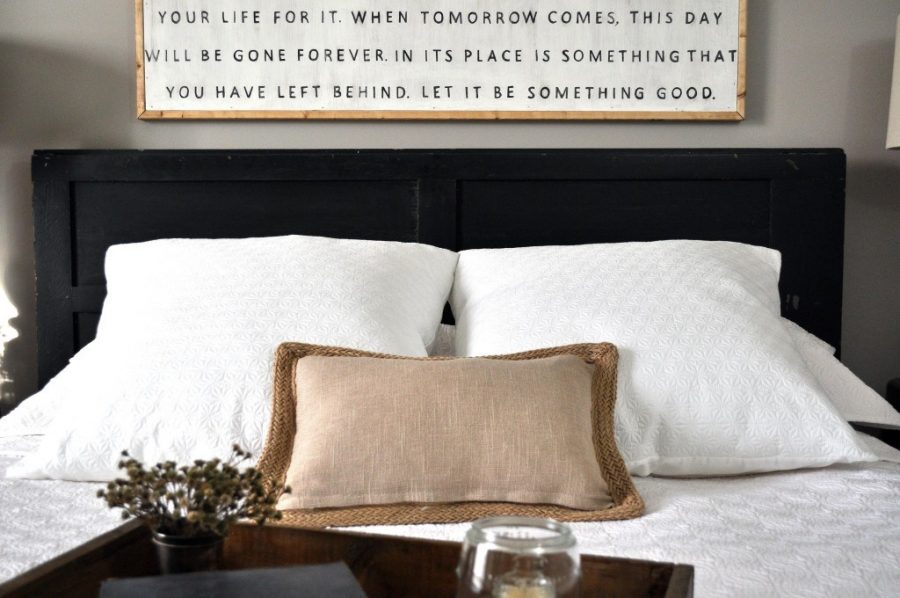
Finally, if you love that farmhouse feel, don’t forget that old doors and windows can be easily recycled into headboards. Here is one of our favourites from The Little Glass Jar.
 here’s more where this came from! See thousand of our decorating and design Pins on our boards here. If you liked this post don’t forget to check back next week to see what’s new on the blog but if you can’t wait our Facebook page is updated daily with amazing spaces, design tips and DIY projects. Or get a sneak peak at life behind the scenes at the paint store (and more stunning rooms) on our Instagram here.
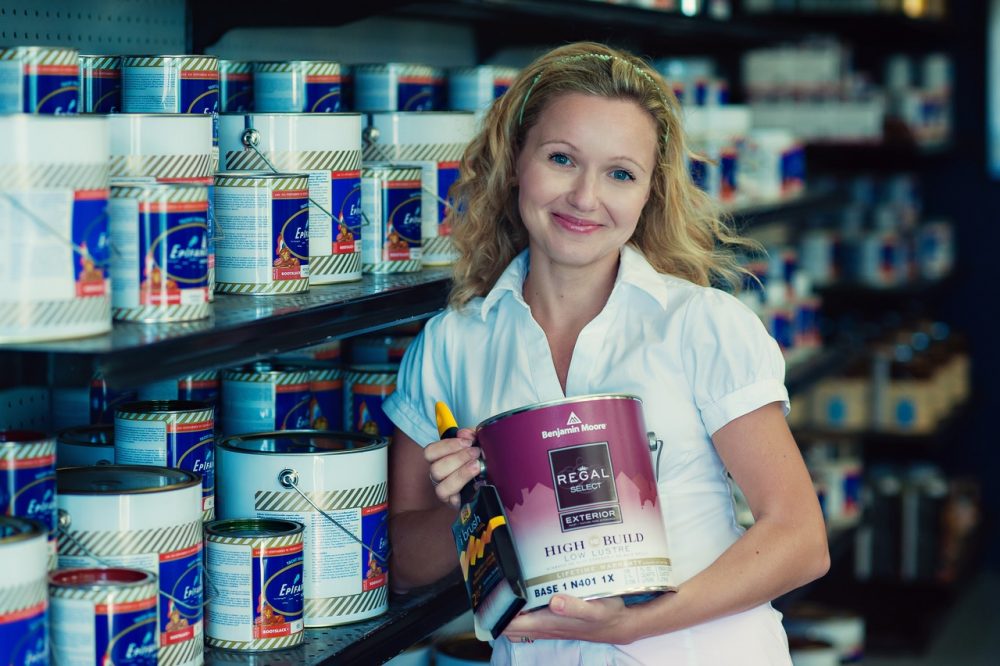 Karolina and her husband Justin De Costa took over Rowe Spurling Paint Company in 2007 after the senior De Costas, Pamela and Neviile, retired. Both Karolina and Justin studied theatre at Roger Williams University in Bristol, Rhode Island. This gave them a foundation in architecture and design while helping to fuel their creative endeavors. They continue to evolve Bermuda’s oldest paint store, providing the latest in coatings technology as well as inspiring their customers in their own home and professional projects.

